Voting on Inputs
Inputs can be voted on from the 'List View' and the 'Input Detail' screen.
All users can vote on any input, provided voting is enabled for its current lifecycle stage.
Voting on inputs helps with prioritising them. This is not generally required (so shouldn't be enabled) for Process Execution, where inputs are actioned according to their lifecycle. Voting is very helpful when building a roadmap for Change Management. The number of votes received can be taken into account when prioritising the input for implementation.
The more votes an input receives, the higher it will display in the Inputs List View when it is filtered on Most Popular. Filtering on Most Popular in the Board View will display the inputs according to the number of votes they have received within each column.
To Vote on an Input:
- Click on the Inputs menu option found at the top right-hand side of the screen.
- The List View of inputs will show by default.
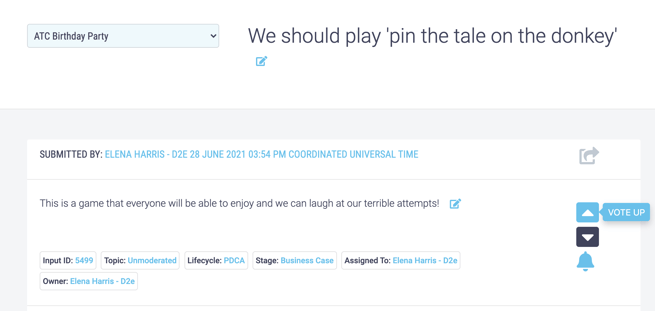
- If voting is enabled, up and down arrows will show on the right-hand side of the Input Slate.
- Find an input you would like to vote on. You can do this by searching or filtering using either the Search Filters on the left-hand side of the screen, or the Most Popular, Oldest and Newest filter in the sub-menu on the right-hand side of the screen.
- Provided the up and down arrows are showing you can vote here, or you can click on the input's title to open the Input Detail screen.

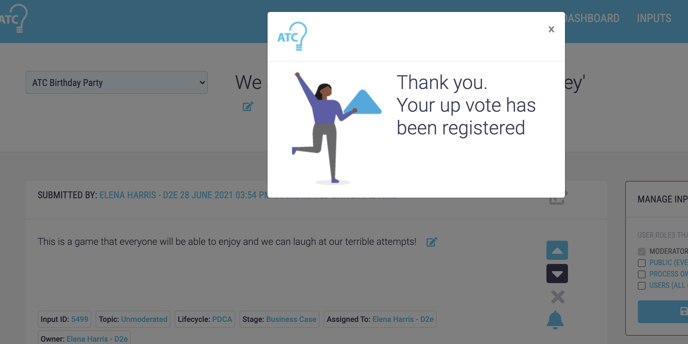
- Click on either the up or down arrow to vote the input up or down. Once you have done this a pop-up will appear telling you your vote has been registered and the arrow that you have clicked will turn blue.

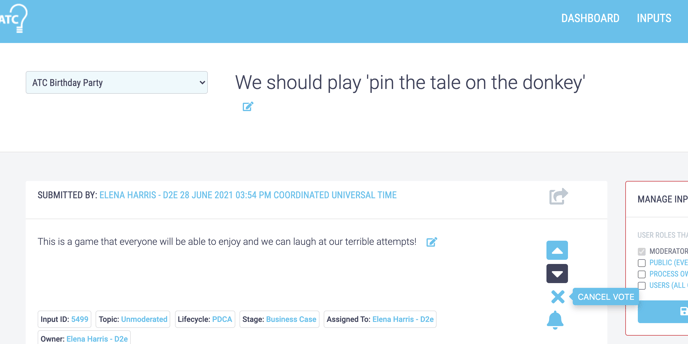
- If for any reason you would like to cancel or change your vote, you can click on the X below the up and down arrows which will cancel your vote.

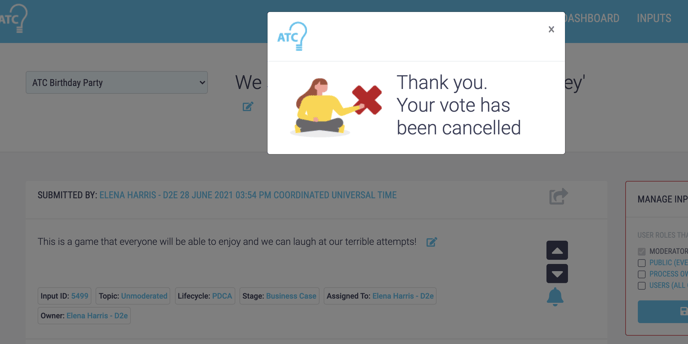
- A pop up will appear telling you your vote has been cancelled.

- You will then be able to vote on the input again.