Owners can make an existing input a child input or assign a new parent input from the input detail screen.
To ensure that your inputs in ATC best reflect reality you can make an existing input into a child input or change a child inputs parent by updating an inputs parent in the Manage This Input section.
You must be an input's owner to add or change a parent input.
- Start by finding the input you would like to add or change the parent input of. Click on the Inputs menu option found at the top right-hand side of the screen.
- By default the input's List View will display.
- Select the input you want to edit, you can do this by searching using the Search Filters on the left-hand side of the screen.
- Click on this input's title - this will take you to the input detail screen.
- From here you can:
Add a Parent to an Input
- Click on the Update Parent text box in the Manage This Input section, you may need to scroll down.
- In the text box type the Input ID or Title of the input you wish to make your inputs parent, a dropdown list of inputs will appear.
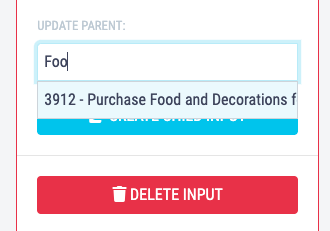
- Click on the input you want to assign as your inputs parent, the page will refresh and your input will now be a child input with a parent input.
Edit an Inputs Parent
- Click on the Update Parent text box in the Manage This Input section, you may need to scroll down.
- In the text box type the Input ID or Title of the input you wish to change your inputs parent to, a dropdown list of inputs will appear.
- Click on the input you want to assign as your inputs new parent, the page will refresh and your child input will have a new parent input.