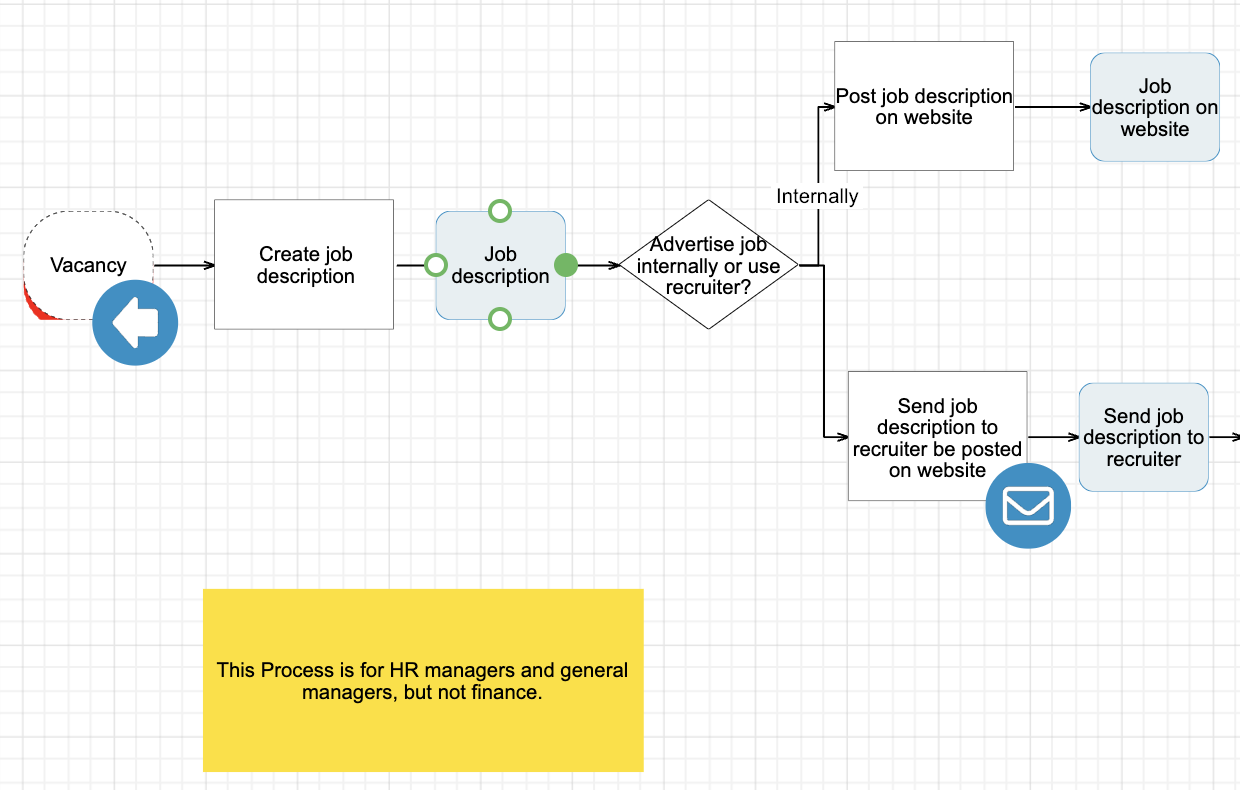
As your processes evolve it is important to update your Process Maps in line with your real-life processes.
In the Triaster QMS Admins can make small changes directly to the process map with the Edit and Go Live feature, or for larger changes Authors can create a draft map.
As standard, only Admins and Authors can create a Draft Map.
Admins can edit a Process Map from within the Library or from the process maps list.
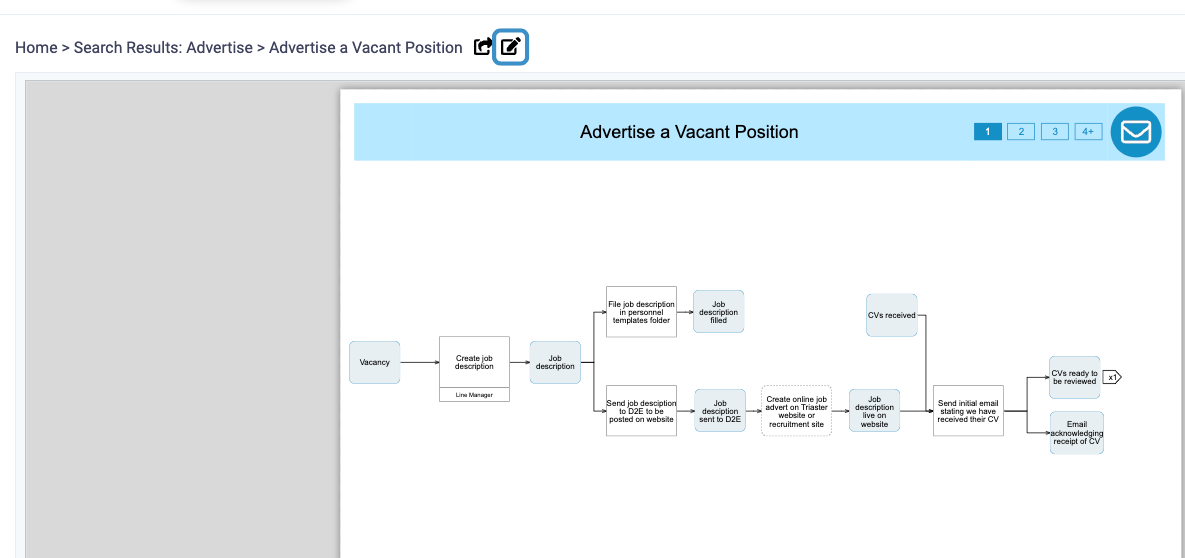
- To edit a Process Map from Library view click on the edit button next to the title.
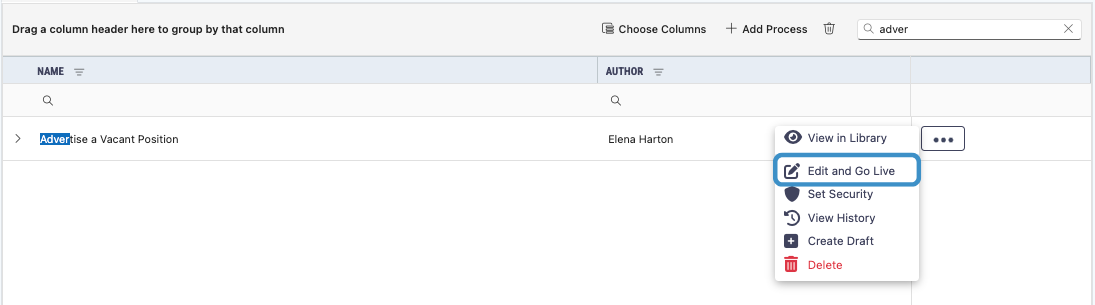
- To edit a Process Map from the process maps list click on the Process Maps menu item in the Library Content section of the menu.
- Find the Process Map you want to update from the list by typing the name of your map in the search field in the Process Maps list and your Process Map will appear in the list below.

- Click the button next to your map and select Edit and Go Live from the dropdown list that appears.
- You will be taken to the Map Editor screen, from here you can:
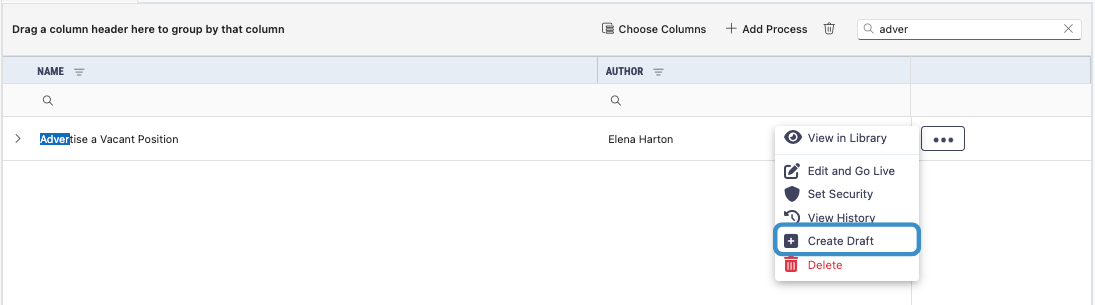
- To create a draft Process Map, click on the Process Maps menu item in the Library Content section of the menu.
- Find the Process Map you want to update from the list by typing the name of your map in the search field in the Process Maps list and your Process Map will appear in the list below.
- Click the button next to your map and select Create Draft from the dropdown list that appears.
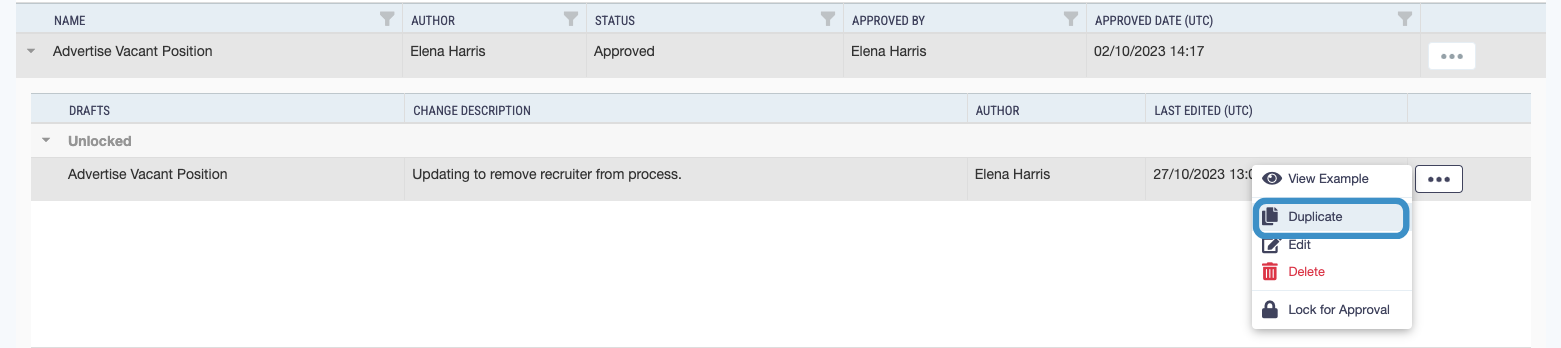
- You can also create a draft by duplicating an existing draft, by clicking on the button next to the draft and selecting Duplicate from the dropdown list.
- You will be taken to the 'Add Map' page. The name of the approved Process Map you want to update will be in the 'Process Name' field, you can keep or update it as required. Type the reason for updating the Process Map in the 'Change Description' field, choose a new node or keep the existing node and click Add.
- The change description will be added to the 'Change Description' system property and be displayed in the properties section.
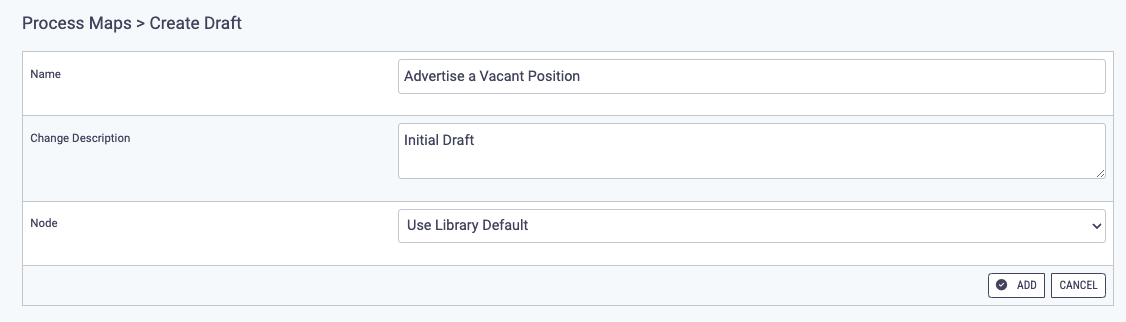
Two drafts cannot have the same name and the same author. If you want to create more than one draft from the same Process Map they must have different names.
- You will be taken to the Map Editor screen, from here you can:
- Once you have completed your Process Map, you must Lock the Draft for Approval.
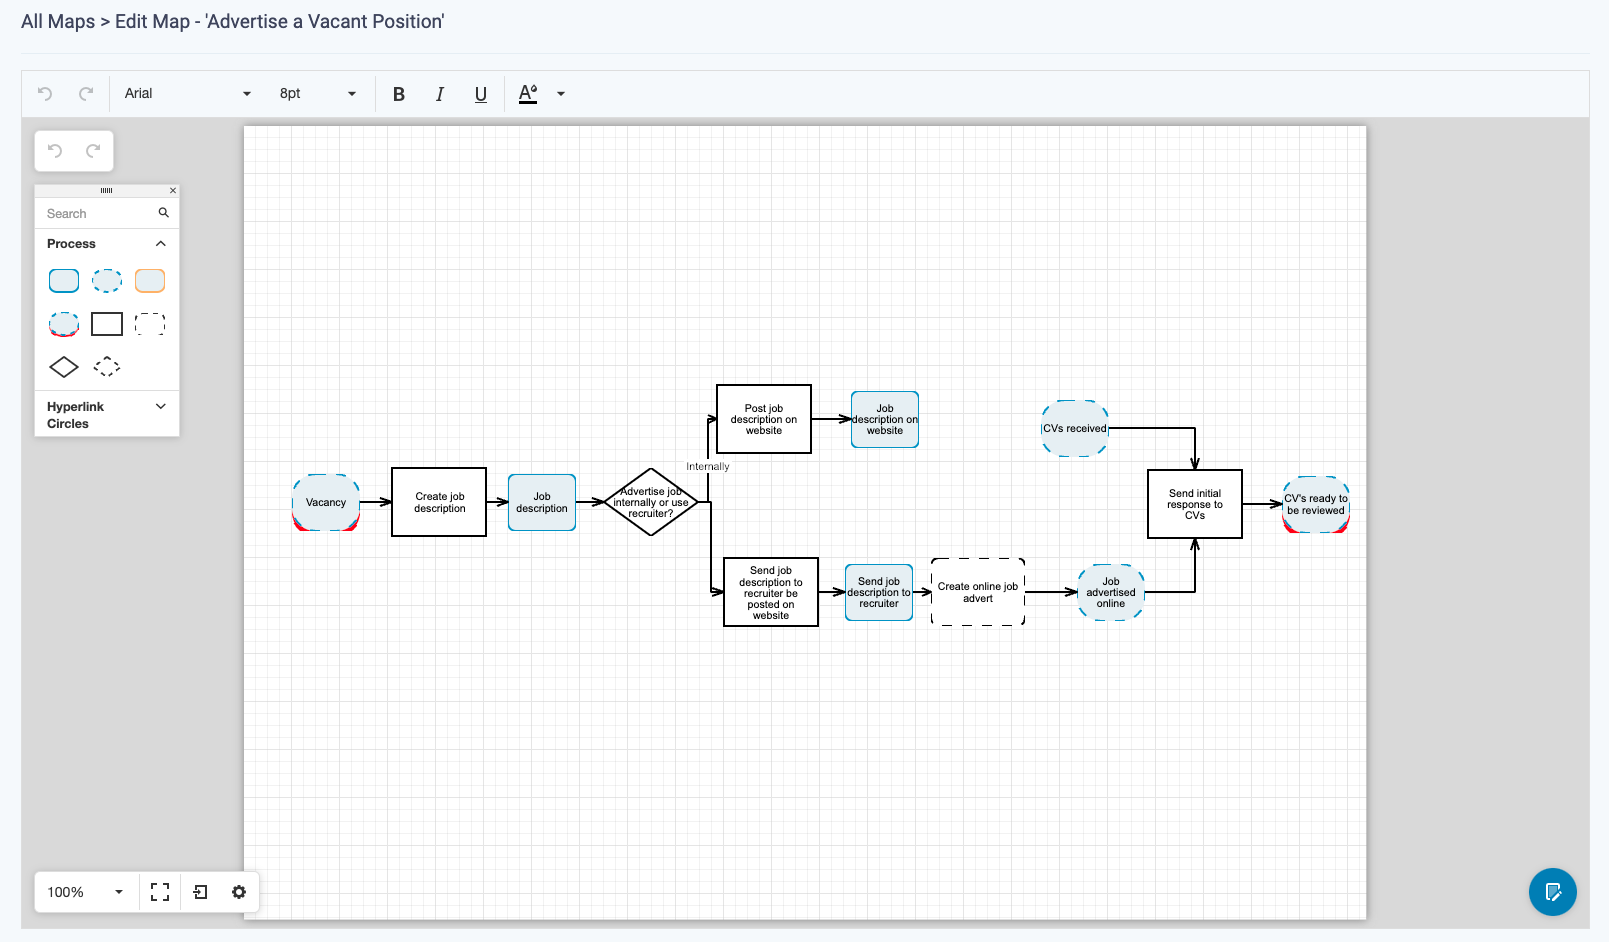
Update the Process Diagram
- You can edit your process diagram by:
- You can rearrange your Process Diagram by selecting the shapes and dragging them around the page to a different place. The shape's Connector will move with it.
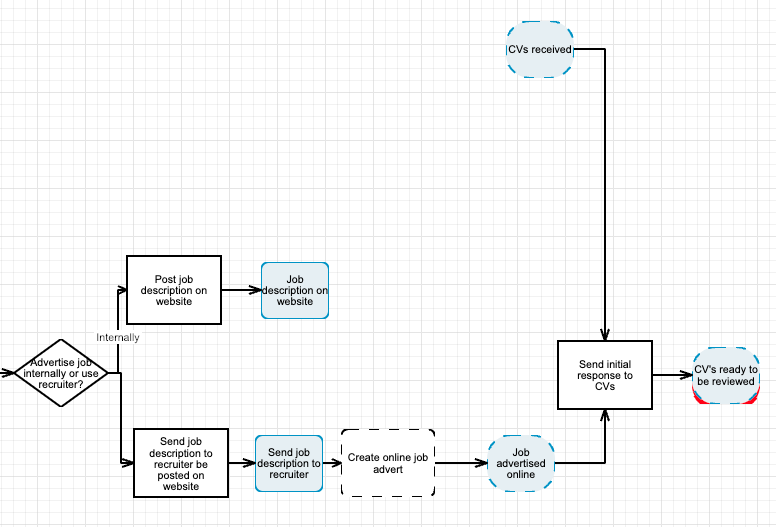
- You can tidy up your Process Map by selecting your shapes and right clicking, and choosing Align in Row, Align in Column, Distribute Horizontally or Distribute Vertically from the dropdown list.
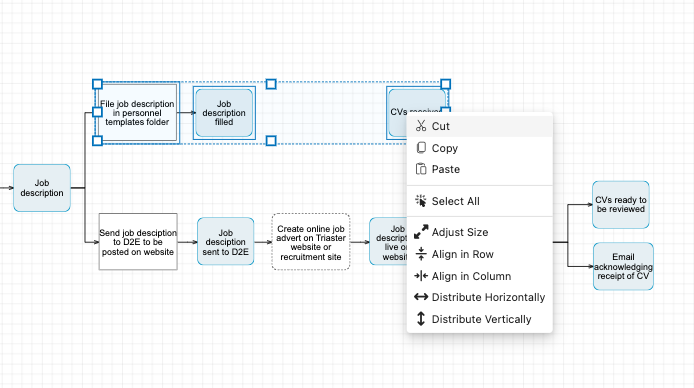
- Aligning the shapes vertically or horizontally will align them with the first shape selected. Distributing the shapes vertically or horizontally will evenly distribute the shapes throughout the space between the first and last shape selected.
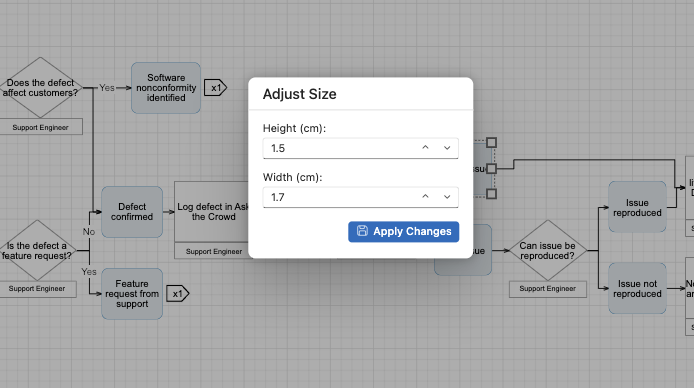
- You can also Adjust the size of individual or multiple shapes by right clicking and selecting Adjust Size a pop-up will appear, type in your desired height and width and click Apply Changes.
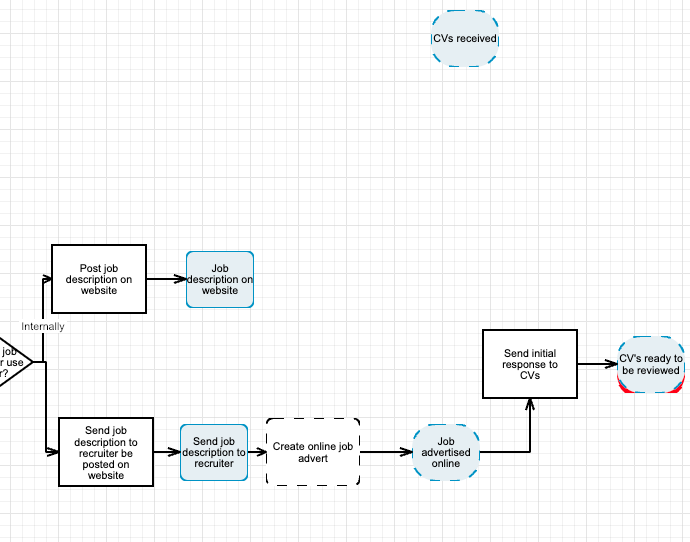
- To delete a shape or Connector simply select it then hit the delete or backspace button on your keyboard and it will disappear from your map.
- To edit the shape type right click on the shape, a dropdown will appear with a list of shape types, with a tick next to the current shape type. To change shape type click on the shape type you would like to change the shape to, your shape will change.
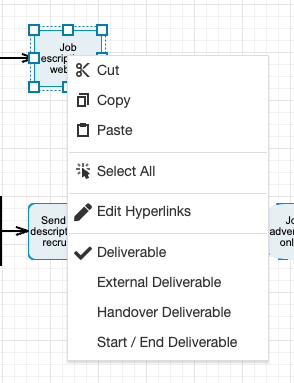
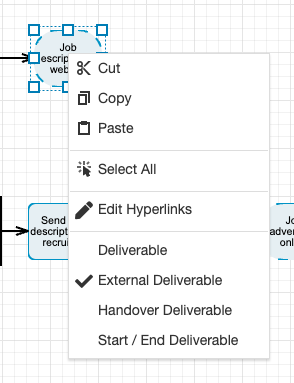
You can only change a shape to a variation of that shape, for example a Deliverable can be changed to an External Deliverable, Handover Deliverable or Start/End Deliverable.
- To change your shape's description, double click on your shape, this will highlight the text and make it editable. Begin typing your new description, this will remove the old text and automatically display the new text. Once you have finished it will be automatically saved.
- You can edit any Notes written by yourself or other Authors.
- To edit a Note text by double clicking on the text, this will highlight the text and make it editable. Begin typing your new note, this will remove the old text and automatically display the new text. Once you have finished it will be automatically saved.
Note shapes cannot be connected to other shapes, including note shapes.