The Map Editor is where you can create and edit your Process Maps. To view the Map Editor go to the Add Map page:
- If you are in the Library section of Process Library click the Admin button at the top right of the screen.
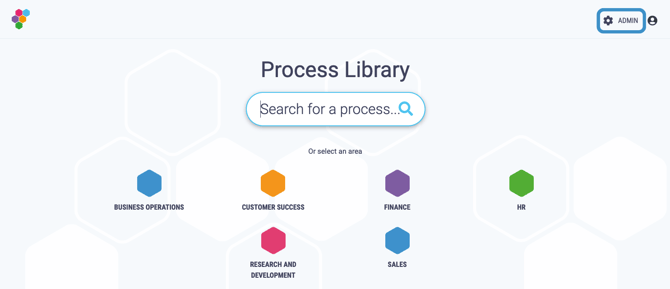
- To return to the Library click the Library button at the top right of the screen.
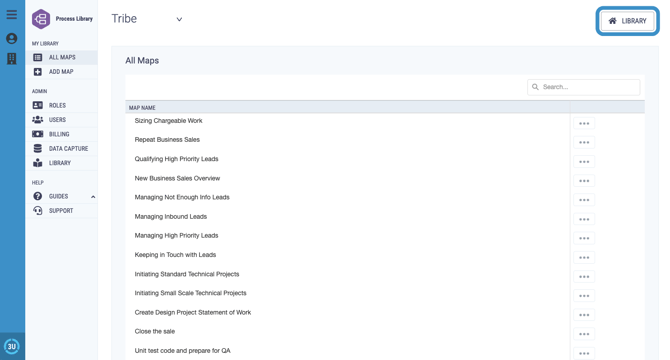
- Click on the Add Map menu item in the My Library section of the menu.
- The Map Editor is made up of:
-
- The page
- A text formatting bar at the top of the screen
- The hyperlinks menu button at the top right of the screen
- An editor toolbox on the left hand side of the screen
- A viewing options box at the bottom left of the screen
- A style options button at the bottom right of the screen
As standard, only Admins and Authors can access the Map Editor Screen.
.png?width=670&height=412&name=map%20editor%20screen%20(1).png)
The Map Editor is the same whether you are creating a new map or a draft map.
The Page

- The page starts out as blank, apart from the node, until you begin to build your Process Map.
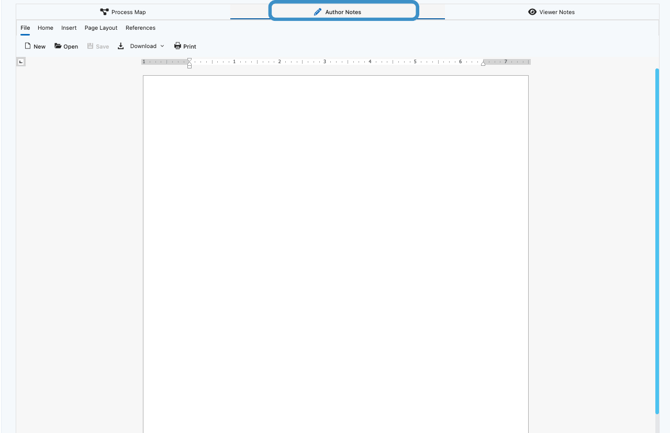
- You can use the tabs at the top of the page to navigate between the Process Map, Author Notes and Viewer Notes.
- You can adjust the page in the viewing options box and drag and drop shapes onto it from the toolbox.
Text Formatting Bar
- From the text formatting bar Authors can adjust the text font, style, size and colour from the relevant dropdown buttons. This can be applied to the text throughout the entire map or on a section by section basis by highlighting the relevant text. Plus, an undo and redo button which allow you to undo or redo recent actions

- The text formatting bar also contains a centre diagram button, this will centre the diagram on the page.

- A refresh button also appears below the text formatting bar once you have started editing.
- The refresh button updates system generated content and process pathways which may have been altered by edits - they are not automatically updated on every edit as this slows down the software.
Once the process map has been refreshed you will be unable to undo or redo any changes made before the refresh.
Hyperlinks menu button
-
Clicking on the hyperlinks menu button will display the all links coming from the process map, they are displayed in two sections: Pathways - links to other process maps - and External Links - links outside of the Process Library.

Toolbox
- The toolbox is what you will use to do the bulk of your process mapping, it is made up of four sections, the Process section, the Text section, the Hyperlink section and the containers section, with a search bar at the top which you can use to locate your chosen tool from the toolbox.
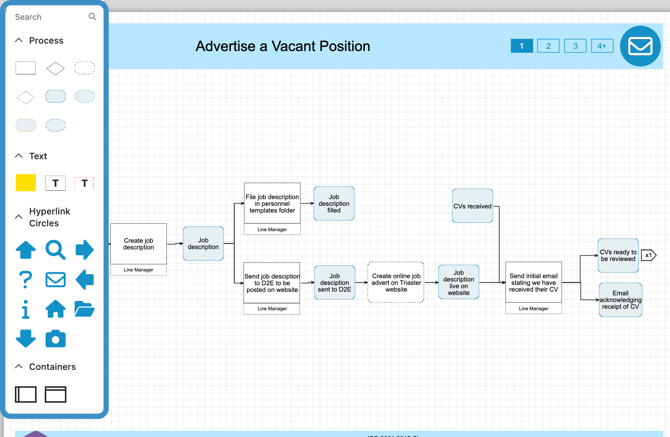
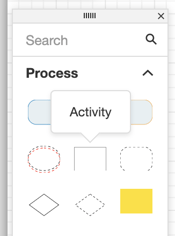
- Process Mapping shapes can be dragged from the toolbox onto the page as you create and edit your Process Map.
- The shapes featured are: Deliverable, External Deliverable, Handover Deliverable, Start/End Deliverable, Activity, External Activity, Decision, External Decision and Note.
- The names of each of the shapes are displayed when you hover your mouse over them.
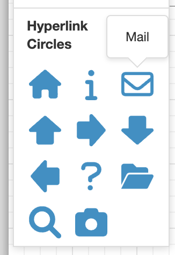
- The Hyperlinks can be dragged from the toolbox onto the page so you can easily insert links to important documents, emails, other process maps and more to your process map.
- The Hyperlinks featured are: home, info, mail, up arrow, right arrow, down arrow, left arrow, question mark, folder, search and camera. The name of each Hyperlink is displayed on mouse over.

- The textboxes can be dragged from the toolbox onto the page so you can add notes and textboxes - in different styles - onto your process map.

- Drag the horizontal or vertical container from the toolbox to add horizontal or vertical Swimlanes to your diagram.
Viewing Options
- From the viewing options box at the bottom of the page users can zoom in and out using the dropdown, make the map fullscreen and export to SVG, PNG and JPEG.

Style Options Button
- Click on the viewing options button to open the viewing options pop-up.
- From here you can adjust the text font, style, size, colour and text position, change the object style and update connector style, using the relevant drop downs or buttons.
