A Process Map is a diagram which clearly shows the main steps needed to carry out a process, plus any items produced by that process. Enabling anyone who views the map to carry out that process correctly first time.
As standard, only Admins and Authors can create Process Maps.
Process Mapping diagrams are made up of different shapes which represent Activities, Deliverables, and Decisions and arrows, known as Connectors, which link them together in order. Properties can be added to shapes and the overall map to provide the viewer with more information.
Process Library has been designed to work perfectly with the Noun-Verb Process Mapping Methodology, this article explains how to create process maps using this methodology.
- If you are in the Library section of Process Library (SaaS) click the Admin button at the top right of the screen.

- To return to the Library click the Library button at the top right of the screen.
- To create a Draft Process Map click on the Process Maps menu item in the Library Content section of the menu. Then click on the + Add Process button in the top right hand of the screen. This will create an editable draft map which once complete can be approved as a Process by an Admin.

- Type the name of the process you would like to map in the 'Name' field.

- The default node will automatically be selected, if you would like to use a custom node select the 'Use a custom node' box and choose the node from the dropdown list.
- To choose a template from a draft or approved process select the relevant box and choose your template from the dropdown list.

- When you are done click + Add Process.

Process Maps should have unique names.
- You will be taken to the Map Editor screen, from here you can:
- Once you have completed your Process Map, you must Lock the Draft for Approval.
Create your Process Diagram
- Begin creating your diagram - Process Map - by dragging your Start/End Deliverable from the editor toolbox onto the page. The names of each of the shapes are displayed when you hover your mouse over them.
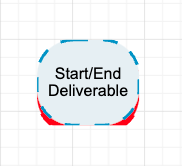
- It is often easier to start with your End Deliverable as this is where you would like to end up and then think about where you are starting from, but you might find it easier to begin with your Start Deliverable.

- To drag your shape into a different position on the page hover your mouse over the shape, then click on the shape and move it into position, once you are happy with its position release your mouse.
- Double click on your Deliverable, this will highlight the text and make it editable, begin typing a description of your start and end points - this should be quite short to ensure it's easy to read 'at a glance'. Once you have finished your description it will be automatically saved.
A Deliverable is something which is produced as a result of an action so should be described using nouns.

- Define the main things you need to do to complete your process by dragging Activity shapes from the toolbox onto the page and label them by double clicking on the text and typing in your description.
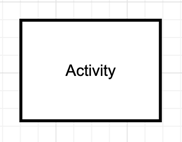
An Activity is something you do so should be described using verbs.
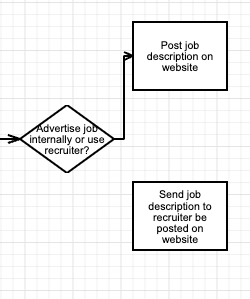
- If one (or more) of the steps you need to carry out involves making a decision - or a question - then drag a Decision shape from the toolbox onto the page and add text by double clicking on your shape and typing in your description.
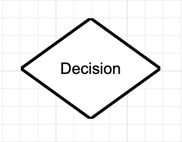
A Decisions description should be in the form of a question.
- You can continue adding activities in branches for as long as you need to.

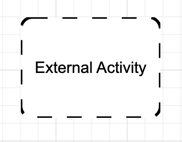
Ensure you use the External Activity shape for activities completed outside your organisation.
- Fill in the gaps between the activities with Deliverables by dragging Deliverable shapes from the editor toolbox onto the page and label them by double clicking on the text and typing in your description. If you are unsure what deliverables will fill the gaps ask yourself the question 'what does this activity produce?'.

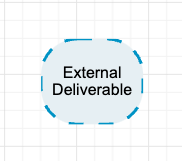
Ensure you use the External Deliverable shape for anything produced outside your organisation.
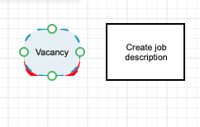
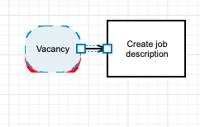
- Connect two shapes to each other by hovering your mouse over a shape, four green circles will appear, move your mouse over the circle closest to the shape you are connecting to.
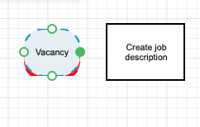
- Click on the circle and drag it towards your shape, this will form an arrow - known as a Connector - once this is close to your second shape four circles will appear on this shape and you can connect the connector to any of these circles.
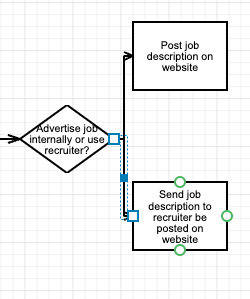
- If you have a Decision you can have two Connectors coming from a single circle. Click on the circle again and drag it towards your second shape to connect the second shape.
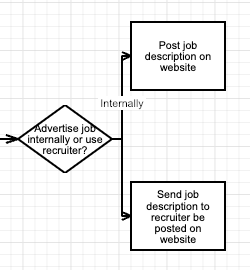
- To label your Connectors double click on the Connector you want to label, a text box will appear.

- Type your label into the text box, this should be quite short to ensure it's easy to read 'at a glance'. Once you have finished simply click anywhere else on your map and the text box will close.
- Continue linking up your Connectors until you have a complete end-to-end Process Map.

- You can tidy up your Process Map by selecting your shapes and right clicking, and choosing Align in Row, Align in Column, Distribute Horizontally or Distribute Vertically from the dropdown list.

- Aligning the shapes vertically or horizontally will align them with the first shape selected. Distributing the shapes vertically or horizontally will evenly distribute the shapes between throughout the space between the first and last shape selected.
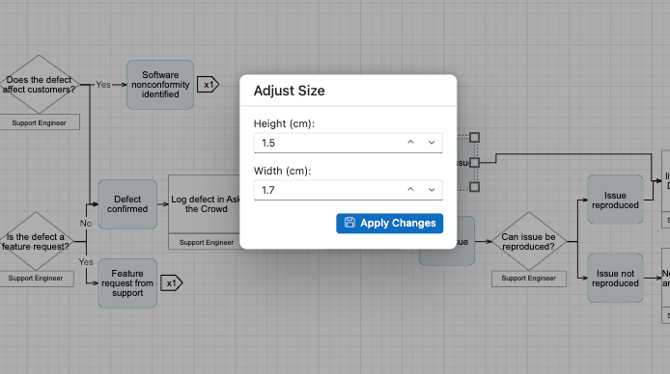
- You can also Adjust the size of individual or multiple shapes by right clicking and selecting Adjust Size a pop-up will appear, type in your desired height and width and click Apply Changes.
- Once you have created the Process Diagram you can add horizontal or vertical Swimlanes to your process map. Simply drag the horizontal or vertical container from the toolbox onto the relevant section of the diagram.

- Click on the container and use the blue boxes which appear to resize the container.

- Double click on the text box and type in your title to give the swimlane a name.

Authors can also start with swimlanes when creating a process map.
- You can also add a Note shape, this enables you to write a note to yourself or other Authors if they create a draft from your map.
- To add a Note drag the Note shape from the editor toolbox onto the page and add your own text by double clicking on the text and typing in your note.
Note shapes cannot be connected to other shapes, including note shapes.

Add Details to your Process
- In Process Library you can add more detail to your Process by adding Properties to both your shapes and your map to provide the viewer with more information while maintaining the 'at a glance' understanding of the Process Map.
- You can add:
- Process Map Properties - these contain general information about the Process, such as the date it was created and the author.
- Activity Properties - these explain details about the Activities such as how long it may take or who is Responsible and Accountable for each action.
- Deliverable Properties - these contain details such as the format of the Deliverable e.g. if it is a hard copy or a computer file.
Before you can add Properties to your Process Map you must create your Properties.
Process Map Properties
- To add a Process Map Property scroll to the 'Process Properties' table below the process diagram, the Process Map Properties you have set up will be displayed in the left-hand column of the table.

- Add the detail you want by clicking Edit next to the relevant Property, for example Date or Author.

- Depending on your Property Type you can either add your Property using a dropdown list, calendar or clock, by typing in your answer or by selecting a number.
If your property is too long to be displayed in full, then the entire string will be displayed in full with associated formatting,on hover, this can be disabled from the edit properties screen.
You can select multiple properties from any dropdown list.
- You can edit multiple shapes properties at once by selecting the shapes then editing the properties as normal, as long as they are the same shape type.

- If you would like to update the options in the dropdown click Modify Answer Set and you will be taken to the Properties page of the Process Library where you can manage the Answer Set.

- Once you have added your property click Save to confirm your answer. If you need to clear the property click Cancel.

- Continue adding details to your Properties until you have added all the information you need.

You can leave Properties blank if they are not relevant or useful for a particular process.
Activity Properties
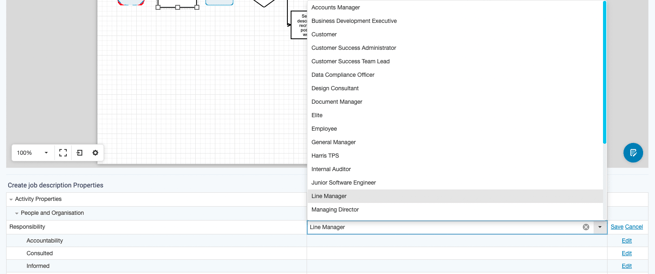
- Activity Properties must be added to individual Activity shapes. To add a Property to an Activity shape click on the relevant shape and the Activity Properties table will appear below the Process Map.
- Activity shapes can display a single featured property below the shape on the map, this property must be the same for every process map - this property is set in the properties page.

- Add the detail you want by clicking Edit next to the relevant property, for example Responsibility or Accountability.

- Depending on your Property Type you can either add your Property using a dropdown list, calendar or clock, by typing in your answer or by selecting a number.
If your property is too long to be displayed in full then the entire string will be displayed in full, with associated formatting, on hover, this can be disabled from the edit properties screen.
You can select multiple properties from any dropdown list.
- If you would like to update the options in the dropdown click Modify Answer Set and you will be taken to the Properties page of the Process Library where you can manage the Answer Set.
- Once you have added your property click Save to confirm your answer. If you need to clear the Property click Cancel.

- Continue adding details to your Properties until you have added all the information you need.

You can leave Properties blank if they are not relevant or useful for a Process Map.
Deliverable Properties
- Deliverable properties must be added to individual Deliverable shapes. To add a Property to a Deliverable shape click on the relevant shape and the Deliverable Properties table will appear below the Process Map.

- Add the detail you want by clicking Edit next to the relevant Property, for example Deliverable format.

- Depending on your Property Type you can either add your property using a dropdown list, calendar or clock, by typing in your answer or by selecting a number.
If your property is too long to be displayed in full then the entire string will be displayed in full, with associated formatting, on hover, this can be disabled from the edit properties screen.
You can select multiple properties from any dropdown list.
- If you would like to update the options in the dropdown click Modify Answer Set and you will be taken to the Properties page of the Process Library where you can manage the Answer Set.

- Once you have added your property click Save to confirm your answer. If you need to clear the Property click Cancel.

- Continue adding details to your Properties until you have added all the information you need.
You can leave Properties blank if they are not relevant or useful for a Process Map.
Add Hyperlinks to resources
- Hyperlinks are links within the Process Map which take you to relevant resources or webpages. Hyperlinks can be added to the Process Map using a hyperlink circle (from the tool
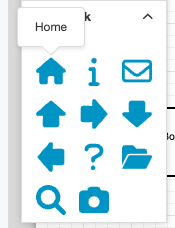 box) to the map or to individual shapes.
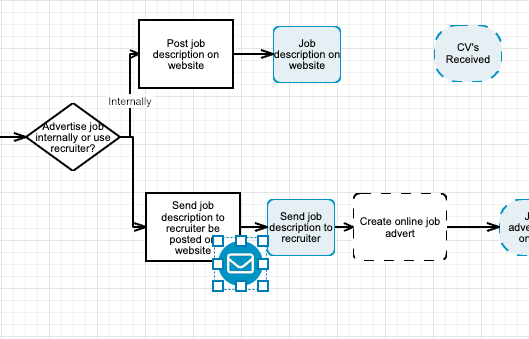
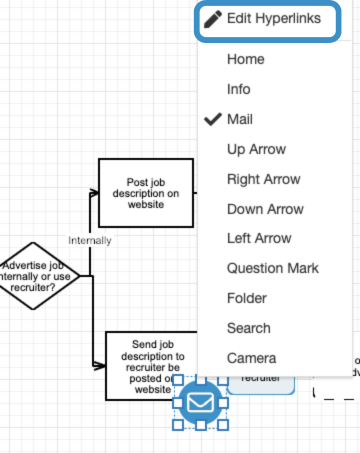
 - To add a hyperlink circle to your Process Map drag the relevant hyperlink circle from the toolbox onto the page. The name of each hyperlink is displayed on mouse over.
- You can either drag the hyperlink circle onto a relevant shape, for example: an email hyperlink can be added to the activity shape 'send to recruiter', or onto the Process Map.
- To add a hyperlink to a hyperlink circle or process map shape, right click on the shape and select the Edit Hyperlinks option from the menu.
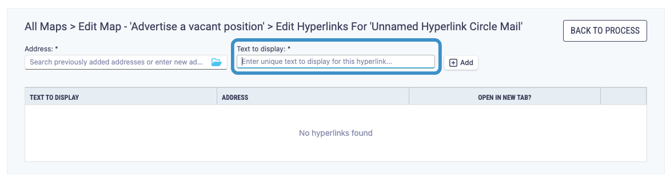
- This will take you to the 'Edit Hyperlinks' page. From here you can link to a URL or a document from your linked file store.
Before you can add a hyperlink to a document you must Connect your Process Library to your Azure File Store.
- Type the display name for the hyperlink in the 'Text to display' field.
- To link to a URL type the address you wish to link to in the 'Address' field.
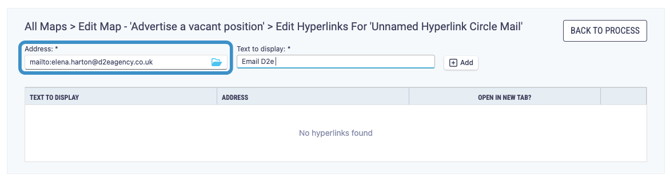
If you wish to link to an email address simply put 'mailto:' in front of the relevant email address. When it is clicked on your default email app will open with a new email pre-populated with this email address.
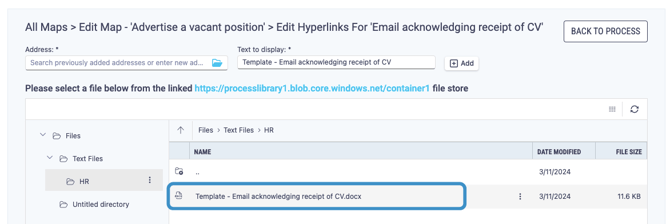
- To link to a document click on the folder icon in the Address bar to open your files.
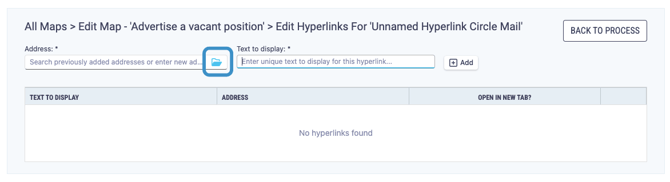
- The folders will be displayed below. Navigate to the relevant document by double clicking on the relevant folders to open them. Once you have found the document you wish to attach, double click on the document to add it to the hyperlink.
- Click the Add button to add the hyperlink.

- Your hyperlink will now be displayed in the hyperlink list. From here you can choose if you would like to open your URL in a new tab or not by selecting the Open in a New Tab? checkbox.

- You can continue to add multiple hyperlinks in the same way.
- To return to the Process Map click the Back to Process button.

- You can view the added hyperlinks by clicking on the hyperlink menu button and a table of hyperlinks will appear that displays all the links coming from the process map, they are displayed in two sections: Pathways - links to other process maps - and External Links - links outside of the Process Library.

- You can also view individual hyperlinks by clicking on the relevant shape and a table will appear below the Process Map.

Add an Author or Viewer Note
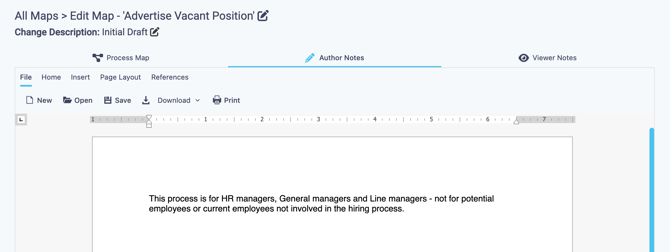
- Add a note to Authors by clicking on the Author Note tab at the top of the page.
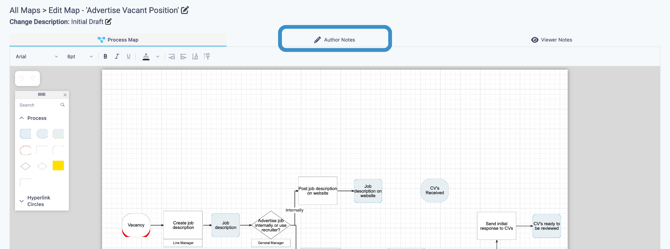
- Notes added here can be viewed by other Authors if they create a draft of this map to edit.
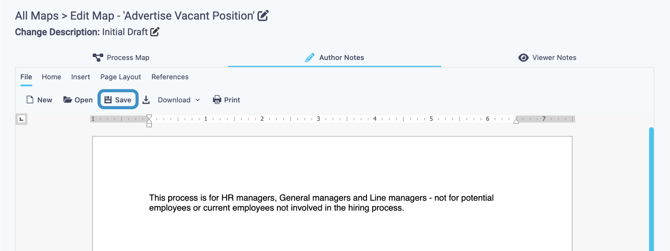
- Click Save to save your note for Authors to view.
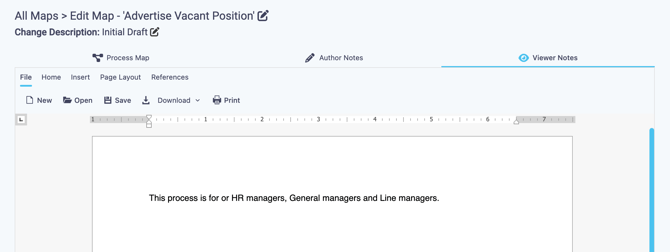
- Add a note to Viewers by clicking on the Viewer Note tab at the top of the page.
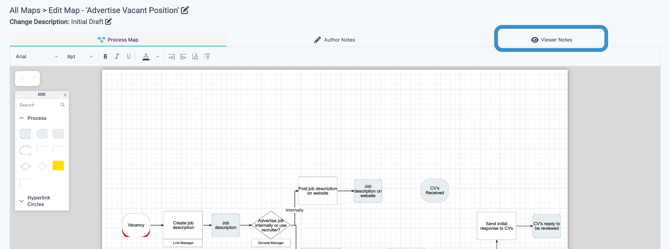
- Notes added here can be viewed by end-viewers in the library.
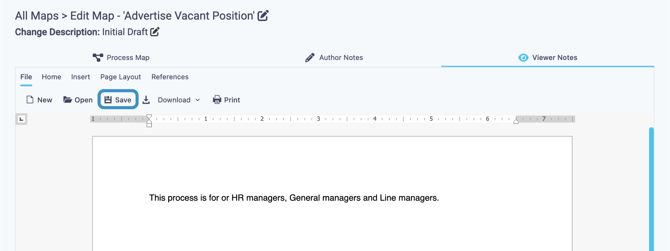
- Click Save to save your note for Viewers.
Lock Draft for Approval
- Once you have completed your Process Map you must lock the map for approval so an Admin can approve the map and it can become a Master Process. You must also select a reviewer who will review the Process Map after a set period of time has elapsed.
A Master Process is the current approved Process Map for a process and cannot be edited. Only Master Processes can be displayed in the Library Homepage.
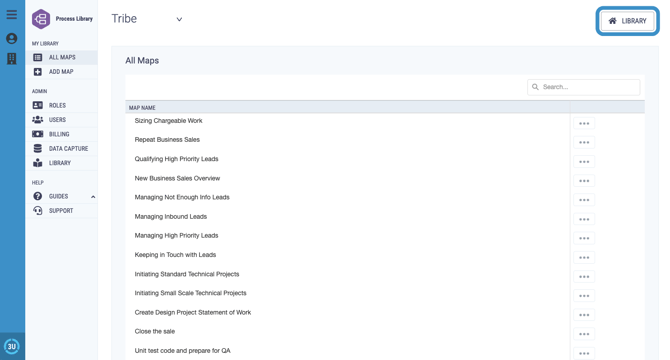
- To lock a draft for approval navigate to the 'All Maps' List and find your map in the list - you can use the search function in the top left of the screen if you have multiple maps.
- Click on the Arrow next to the name of the Map you want to lock for approval, a dropdown will appear with all the drafts associated with this Process Map

You can only lock a map for approval if you are the Author.
You can only have one draft locked for approval with the same name.
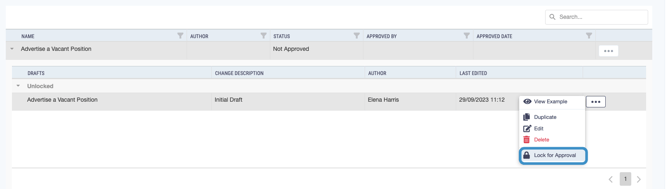
- Click on the button next to the draft you want to lock for approval and select Lock for Approval from the dropdown list that appears.
- A pop-up will appear asking you to select a Tenant Admin to act as an approver and a Reviewer. Click on the dropdown and select your desired approver and reviewer from the lists.
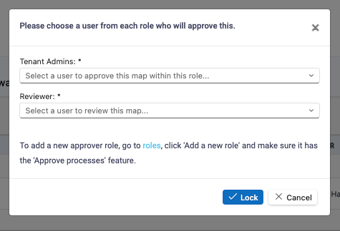
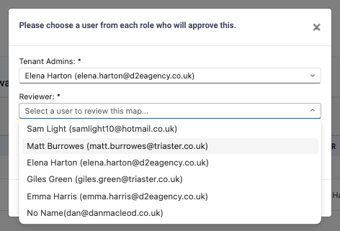
- Once you have selected your approver and reviewer click Lock.

- The page will refresh and its status will be updated to 'Awaiting Approval', you will no longer be able to edit it.